 EN
EN VN
VN
Installing corrugated roofing tiles correctly, using the right materials, and adhering to technical standards are prerequisites to ensure construction progress and budget compliance in the context of an increasingly diverse building materials market. Today’s article from Phong Nguyên will provide a detailed guide on installing corrugated roofing tiles professionally, specifically for those looking for sustainable and efficient solutions.
Why should you choose corrugated roofing tiles?
Corrugated roofing tiles possess many outstanding advantages, making them a popular choice among investors and contractors when it comes to implementing projects:
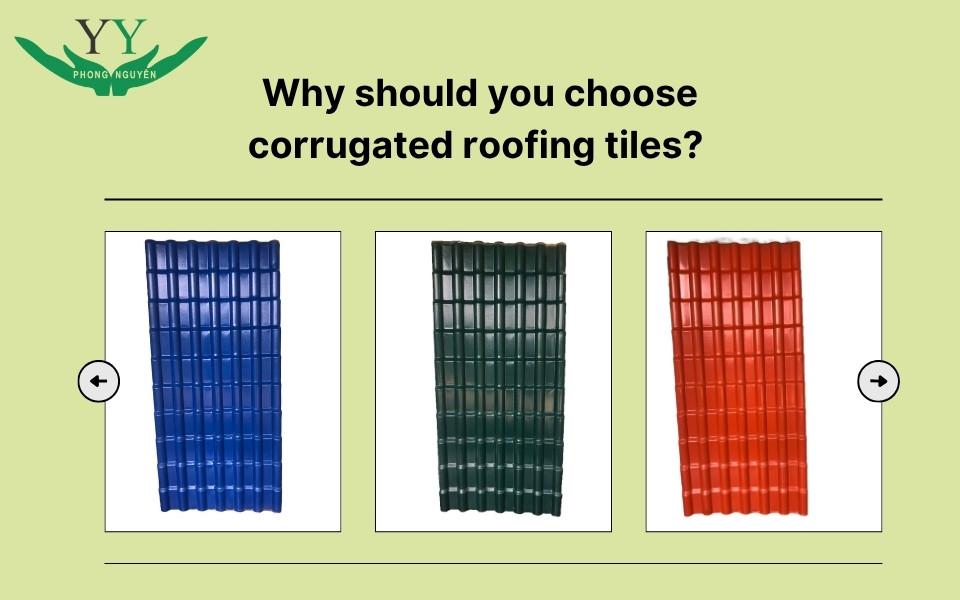
High aesthetic appeal
Corrugated roofing tiles are designed to mimic the shape of traditional roof tiles, providing an elegant and harmonious look that blends well with Eastern architecture. However, compared to clay tiles, this type of roofing is lighter, effectively reducing the roof’s weight.
Outstanding weather resistance
Made from stainless steel or high-quality plastic, corrugated roofing tiles offer heat resistance, thermal insulation, and minimized rusting. This is a critical factor for large projects such as factories, warehouses, shopping malls, etc.
Optimized construction process
Compared to traditional tile roofing, which requires high technical skills and a long construction time, installing corrugated roofing tiles is considered faster, more efficient, and easier to implement. The large-size sheets are easy to assemble, significantly reducing the labor force needed and related costs.
Preparation before installing corrugated roofing tiles
To ensure the corrugated roofing tile installation process is effective, technically correct, and achieves optimal durability as designed, the preparation phase plays an extremely important role.
Surveying the current condition and roof structure
Before installing corrugated roofing tiles, a real-life survey of the construction site is mandatory. The technical team will assess the steel frame structure, roof slope, purlin spacing, and load-bearing capacity to choose the appropriate type of corrugated roofing tiles for the project.
Calculating the required roofing area
Accurately calculating the roof area to be covered with corrugated tiles is the foundation for determining the amount of materials to purchase, designing the proper purlin system, and optimizing costs while minimizing waste during the construction process.
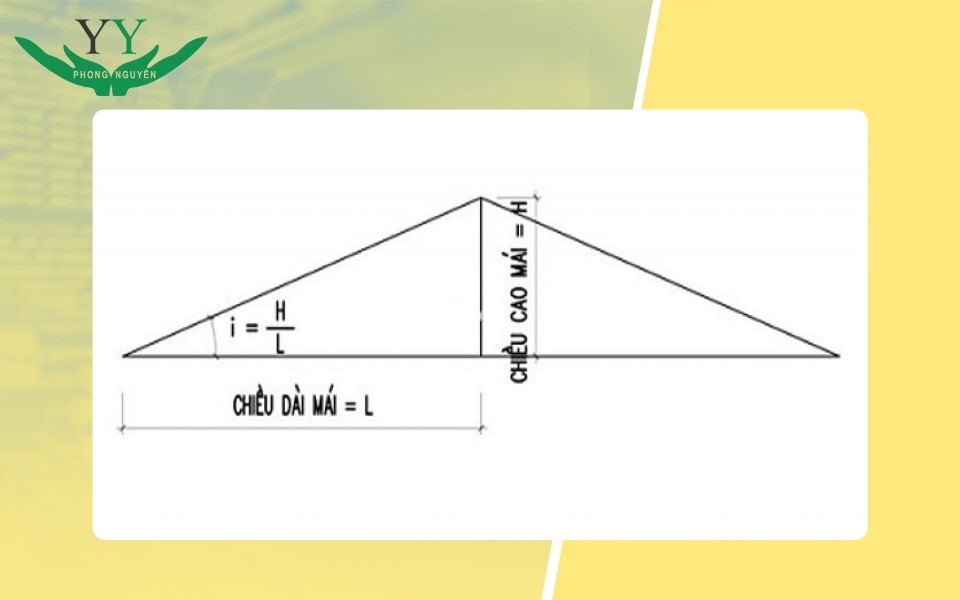
First, you need to determine the roof slope—a factor that directly affects water drainage, aesthetics, and overall roof durability.
Roof slope = Roof height / Roof length
After obtaining the correct slope parameters, you can calculate the roofing area using the formula
Roofing area = Length x Width x Roof slope
From this area, you can easily estimate the number of roofing sheets required for the entire roof. Additionally, these parameters play an important role in designing the purlin system and arranging the accompanying technical details.
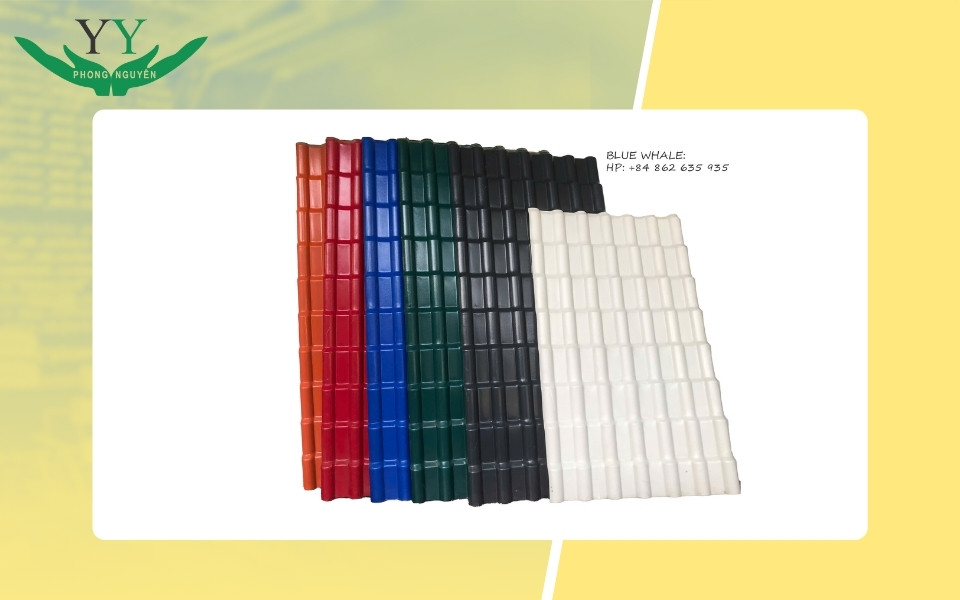
Choosing materials
Choosing corrugated roofing tiles should be based on the intended use, the local climate, and the investment budget. Parameters such as the thickness of the sheet, the galvanized coating, the paint layer, and the origin of the product must be clearly verified. Additionally, accessories such as roofing screws, anti-storm bolts, and waterproof silicone must also be fully prepared to avoid any disruption in the construction process.
Detailed guide to installing corrugated roofing tiles
Understanding the correct way to install corrugated roofing tiles is the key factor in ensuring the durability, aesthetics, and long-term effectiveness of the project. Below is a step-by-step process for installing corrugated roofing tiles, suitable for any construction project:
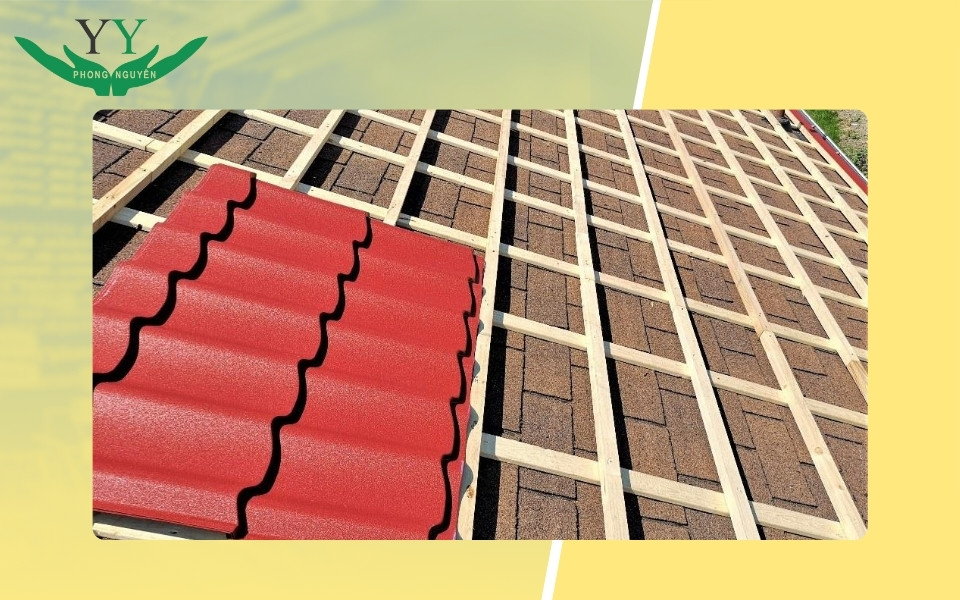
Installing the roof frame
Based on the design drawing, proceed with constructing the roof frame and purlins, welding them tightly to the building columns to ensure that the roof does not shift or wobble during harsh weather conditions such as strong winds or storms. For residential roofs, purlins with a minimum slope of 1.5 mm should be used, and white-painted square steel pipes should be used to enhance the overall aesthetic.

Installing the surrounding edges
Next, secure the surrounding edges, such as eaves and fascia boards. These metal strips help form the frame and protect the perimeter of the roof. Use nails about 0.6 cm long for securing. If there are drainage gutters, position the metal edges over the edge of the gutter to ensure proper water flow.
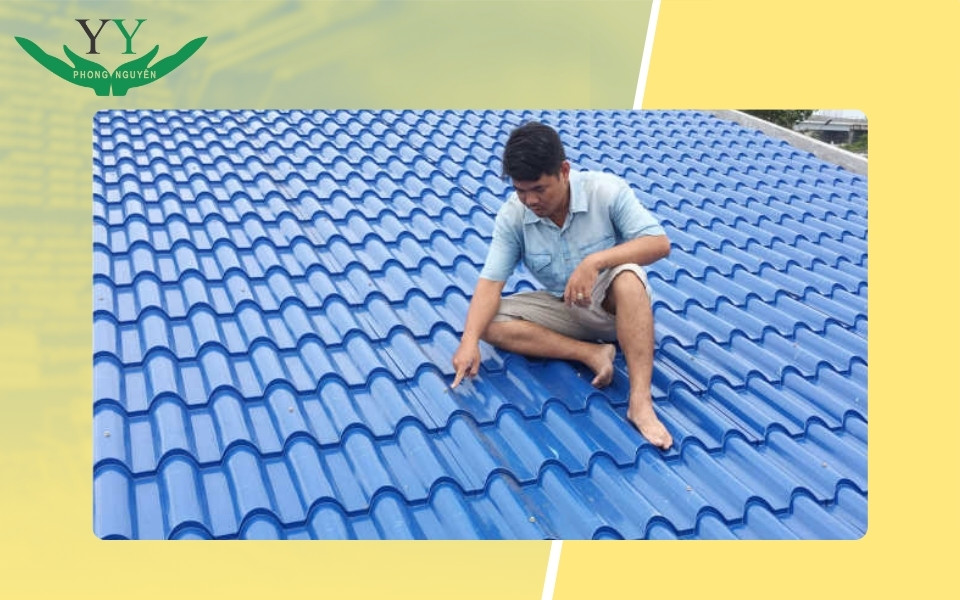
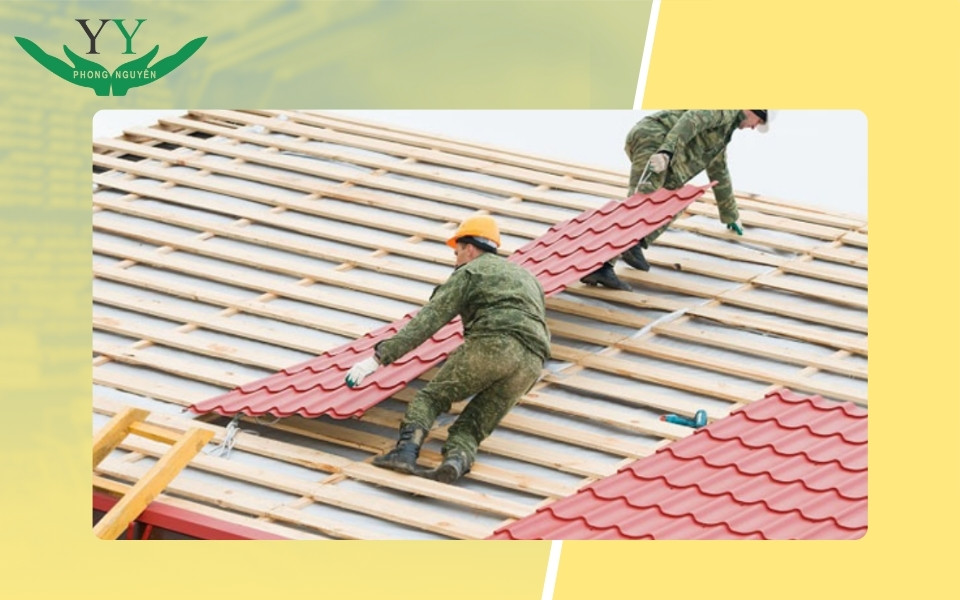
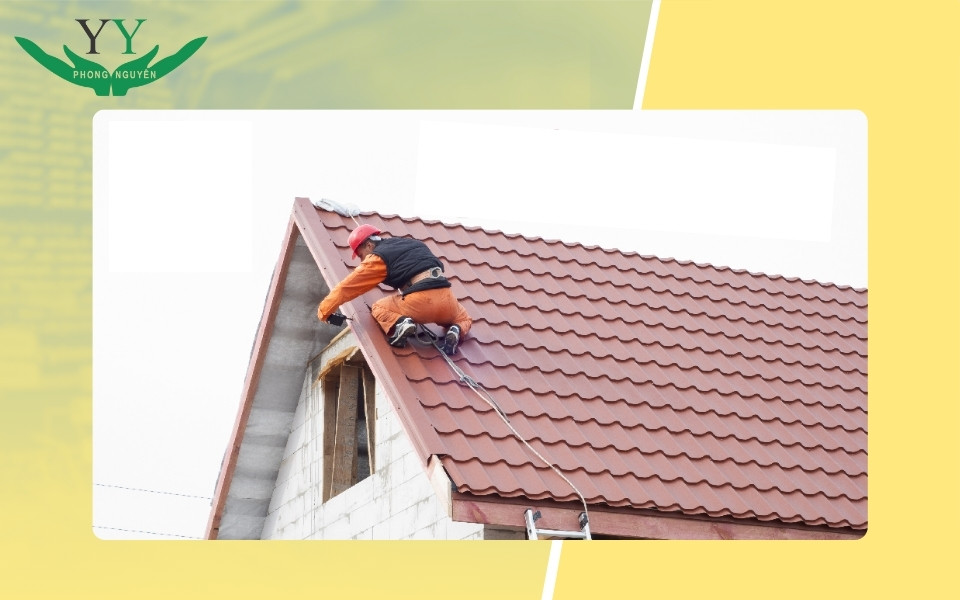
Installing the corrugated roofing tiles
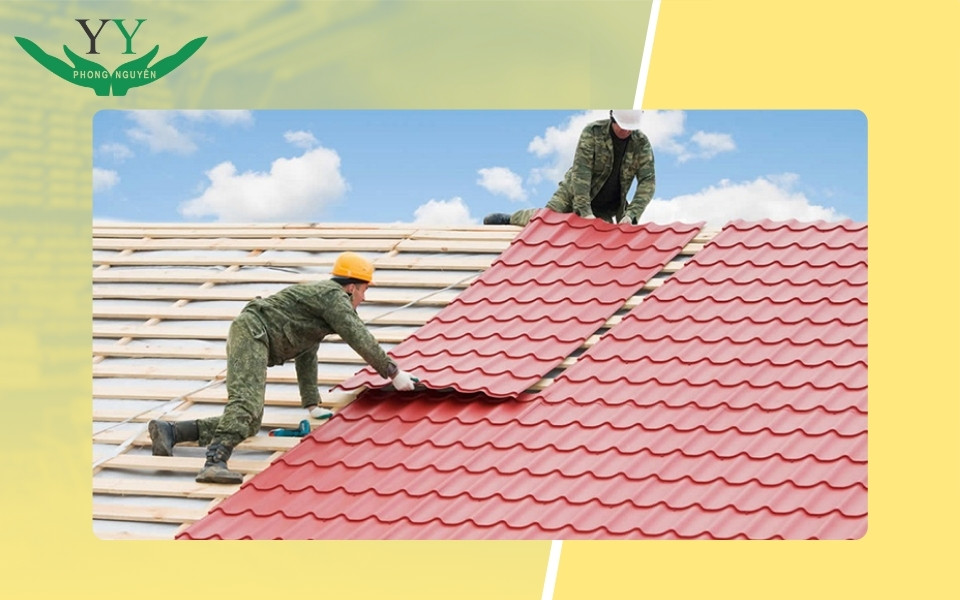
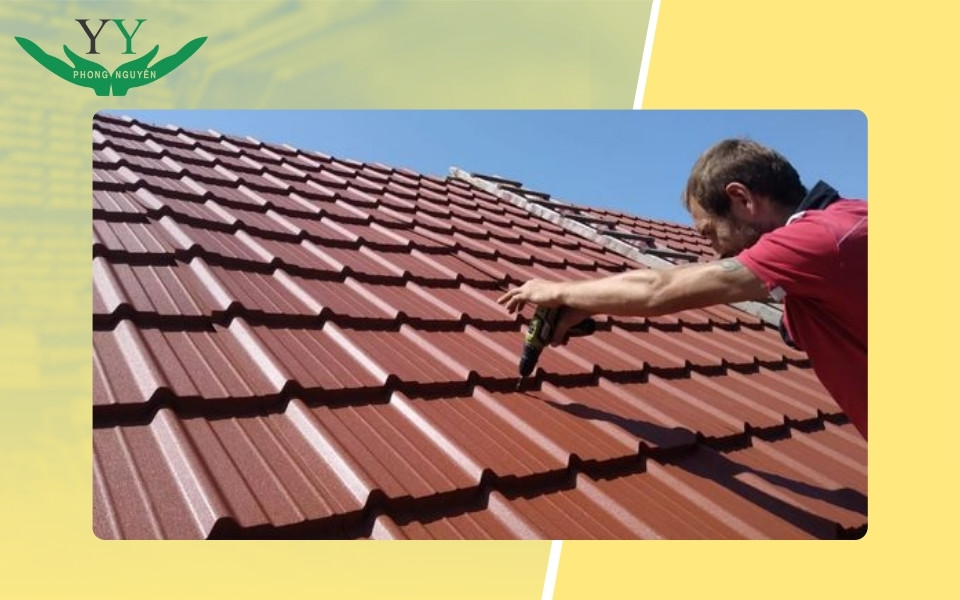
The installation of corrugated roofing tiles starts from the highest point down, with each sheet overhanging the roof by at least 2 cm. Secure each sheet with screws with rubber washers, spaced approximately 30 cm apart.
When laying the next sheet, overlap the edges by at least 2.5 cm, ensuring that the right wave overlaps the left wave by half of a wave. Neutral silicone can be used to seal the edges and increase the waterproofing.
Installing ridge caps and flashings
Ridge caps, side flashings, gutters, and downspouts are installed at the intersections and joints between the corrugated sheets to prevent rainwater infiltration, shield the roof from dust, and protect the internal insulation layer.
Final inspection before completion
After completing the installation, check that the entire roof is covered, the screws are tightened properly, and the edges are even. Finally, clean up any metal shavings, leftover sheet metal pieces, and screw heads to avoid rusting.
Some considerations when installing corrugated roofing tiles
To ensure the quality of the project and worker safety, there are a few points to keep in mind when installing corrugated roofing tiles:
- Avoid working in bad weather conditions such as rain, strong winds, or intense sunlight to ensure safety and the adhesive strength of the waterproof materials.
- Equip workers with full protective gear such as safety harnesses, non-slip shoes, helmets, and standard scaffolding systems.
- Do not drag the corrugated roofing tiles across the purlins to avoid scratching the coating, which could lead to rusting later.
- Use the correct screws designed for roofing tiles, ensuring they have rubber washers to prevent water penetration and are tightened just enough to avoid deforming the corrugations.
- Clean the roof surface after installation, removing all metal shavings, excess sheets, and screw heads to prevent rusting in the future.
See more: How to Properly Installing Square Corrugated Sheets?
Conclusion
Understanding the correct way of installing corrugated roofing tiles directly impacts the durability, performance, and overall aesthetic value of the entire project. We hope that through this article, Phong Nguyên has provided you with useful knowledge and information to assist you in installing corrugated roofing tiles for your project!